The Blessed One
The Blessed One Champion Loadout
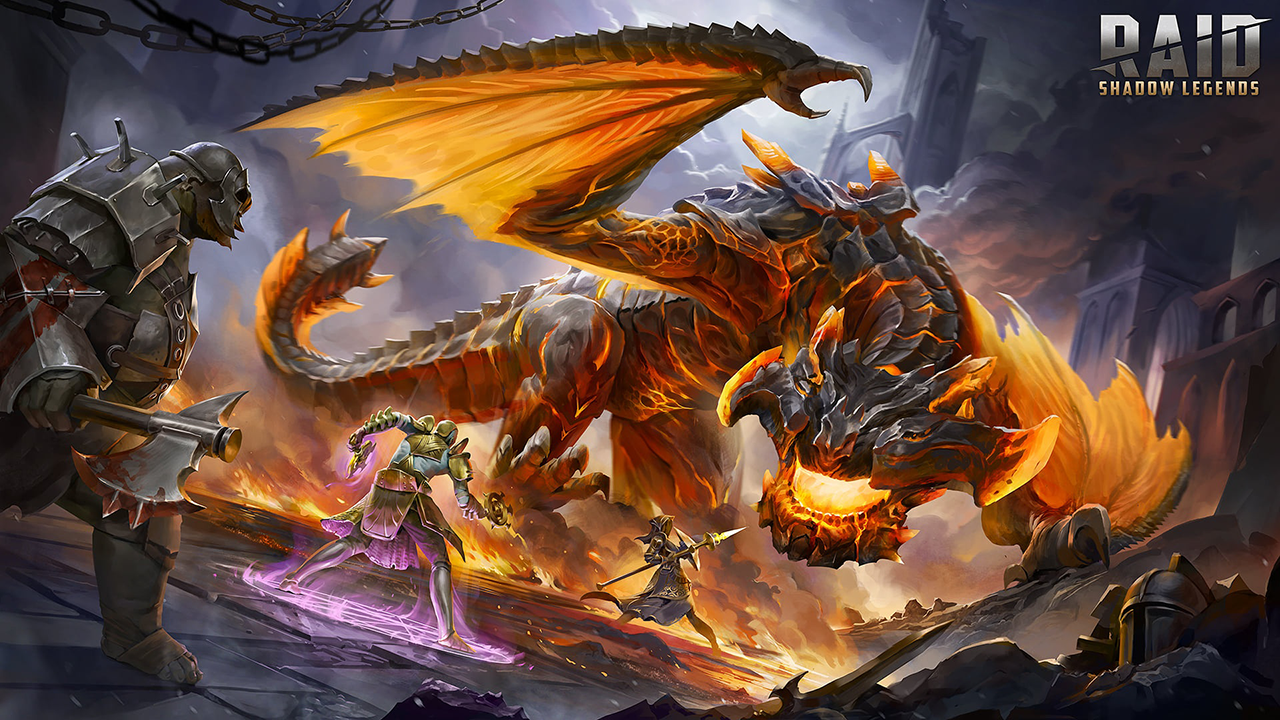
I haven't heard or seen my guy Archbishop Pinthroy getting a lot of love in the community or maybe I'm missing something. Either way, this guy is really good in so many different areas of the game and I need to talk about it. I absolutely love the Archbishop for many different dungeons in this game. This build is flexible enough to be really effective for the Iron Twins, the Hydra, Agreth the Nether Spider, you name it. It slays.
When it comes to the team, I feel like this guy really brings the protection so it's only right to also equip him with protection gear. He's just a great candidate for this artifact set with as many buffs as he is throwing out. Make sure to put him near the front of your rotation for any ally attack or counterattack A1 opportunities.
Strategy Description
Artifacts Description
This is one of the few guys on my account that I run in a Protection set. That means he gets a lot of good pieces of gear and has pretty good overall stats. He puts out three buffs that can be protected. An Increase Accuracy, Increase Defense and a Shield. On top of whatever buffs he steals.
For the most part I want to build him with lots of speed and accuracy on his sub-stats. We want him to take a lot of turns quickly to help heal and shield the team, as well as land the Block Buffs and Heal Reduction debuffs. This works out well for certain rotations of the Hydra and other places.
I run him in a mix of defense and HP gear and accessories. Whether it's the gauntlets or the chestpiece, one of the two is typically HP% and the other Defense%. Same for the ring and amulet accessories. With the banner being accuracy. Remember you're looking for about 4,500 defense before converting the rest to health.
* Some artifact sets have upgraded versions available. If you have a better upgraded version of this recommended artifact set, definitely use that instead.





For the masteries I went with Offense and Support trees. For the offense tree it was pretty simple just going down the left side until we get to Warmaster. Warmaster procs should help provide some extra dps again to fights to help speed them up.
Down the support tree I decided to go with extra HP, healing and shields to start. Further increasing those down the line until Lasting Gifts for an extra count on the buff duration. Then we veered off to the right side of the path as well. Grabbing Master Hexer to give an extra count on the debuffs. Grabbing Lore of Steel alone the way for some extra stats and Swarm Smiter for some extra accuracy.


![Shield Breaker: Increases damage inflicted to targets under [Shield] buffs by 25% Shield Breaker mastery icon.](/images/raid-shadow-legends/masteries/shield-breaker.png)


![Opportunist: Increases damage inflicted to targets with [Stun], [Sleep], [Fear], [True Fear], [Freeze], [Petrification] debuffs by 12%. Opportunist mastery icon.](/images/raid-shadow-legends/masteries/opportunist.png)


![Blood Shield: Places a [Shield] buff on this Champion for 1 turn when this Champion kills an enemy (except Boss' minions). The value of the [Shield] is equal to 15% of this Champion's MAX HP. Occurs once per turn Blood Shield mastery icon.](/images/raid-shadow-legends/masteries/blood-shield.png)


![Rejuvenation: Increases the amount of healing and the value of [Shield] buffs this Champion receives by 5% Rejuvenation mastery icon.](/images/raid-shadow-legends/masteries/rejuvenation.png)
![Mighty Endurance: Decreases the damage received by 10% if this Champion has [Stun], [Sleep], [Fear], [True Fear], [Freeze], [Petrification] debuffs. Mighty Endurance mastery icon.](/images/raid-shadow-legends/masteries/mighty-endurance.png)


![Wisdom of Battle: Has a 30% chance of placing a [Block Debuffs] buff on this Champion for 1 turn when [Stun], [Sleep], [Fear], [True Fear], [Freeze], [Petrification] debuffs expire on this Champion. Wisdom of Battle mastery icon.](/images/raid-shadow-legends/masteries/wisdom-of-battle.png)


![Harvest Despair: Has a 60% chance of placing a [Leech] debuff for 1 turn when placing [Stun], [Sleep], [Fear], [True Fear], [Freeze], [Petrification] debuffs. Harvest Despair mastery icon.](/images/raid-shadow-legends/masteries/harvest-despair.png)


![Deterrence: Has a 20% chance to counterattack an enemy when they apply a [Stun], [Sleep], [Fear], [True Fear], [Freeze], [Petrification], or [Sheep] debuff on an ally. Cooldown: 1 turn Deterrence mastery icon.](/images/raid-shadow-legends/masteries/deterrence.png)


![Fearsome Presence: Increases the chances of placing a [Stun], [Sleep], [Freeze], [Fear], [True Fear], [Provoke], or [Sheep] debuff from Skills or Artifacts by 5% Fearsome Presence mastery icon.](/images/raid-shadow-legends/masteries/fearsome-presence.png)


![Shieldbearer: Increases the value of [Shield] buffs this Champion casts by 5% Shieldbearer mastery icon.](/images/raid-shadow-legends/masteries/shieldbearer.png)


![Healing Savior: Increases the amount of healing and the value of [Shield] buffs placed by this Champion by 10% if the target ally has 40% HP or less Healing Savior mastery icon.](/images/raid-shadow-legends/masteries/healing-savior.png)


![Merciful Aid: Increases the amount of healing and the value of [Shield] buffs placed by this Champion by 15% if the target ally has [Stun], [Sleep], [Fear], [True Fear], or [Freeze], debuffs Merciful Aid mastery icon.](/images/raid-shadow-legends/masteries/merciful-aid.png)


![Lasting Gifts: Has a 30% chance to extend the duration of any buff cast by this Champion by 1 turn. It will not extend [Block Damage], [Unkillable], [Revive on Death], or [Taunt] buffs. Lasting Gifts mastery icon.](/images/raid-shadow-legends/masteries/lasting-gifts.png)

![Sniper: Increases the chances of placing any buff from Skills or Artifacts by 5%. It will not increase the chances of placing [Stun], [Sleep], [Freeze], [Fear], [True Fear], [Provoke], or [Petrification] debuffs. Sniper mastery icon.](/images/raid-shadow-legends/masteries/sniper.png)
![Master Hexer: Has a 30% chance to extend the duration of any buff cast by this Champion by 1 turn. It will not extend [Stun], [Sleep], [Freeze], [Provoke], [Fear], [True Fear], [Bomb], or [Petrification] debuffs. Master Hexer mastery icon.](/images/raid-shadow-legends/masteries/master-hexer.png)



Brimstone

Brimstone
Level 1 Blessing
I like Brimstone for a lot of player versus environment (pve) content. I want one of my guys with it at any level on my team. It does a good deal of damage and helps support champs like this provide some small amount of extra damage to fights.
Level 6 Blessing
Same reason as above I will go with Brimstone still. He can apply it with his A1 single target or AOE with his A2. It helps provide a small amount of extra damage in fights. Good for helping to release champs from being eaten by the Hydra heads or for any other fight.

