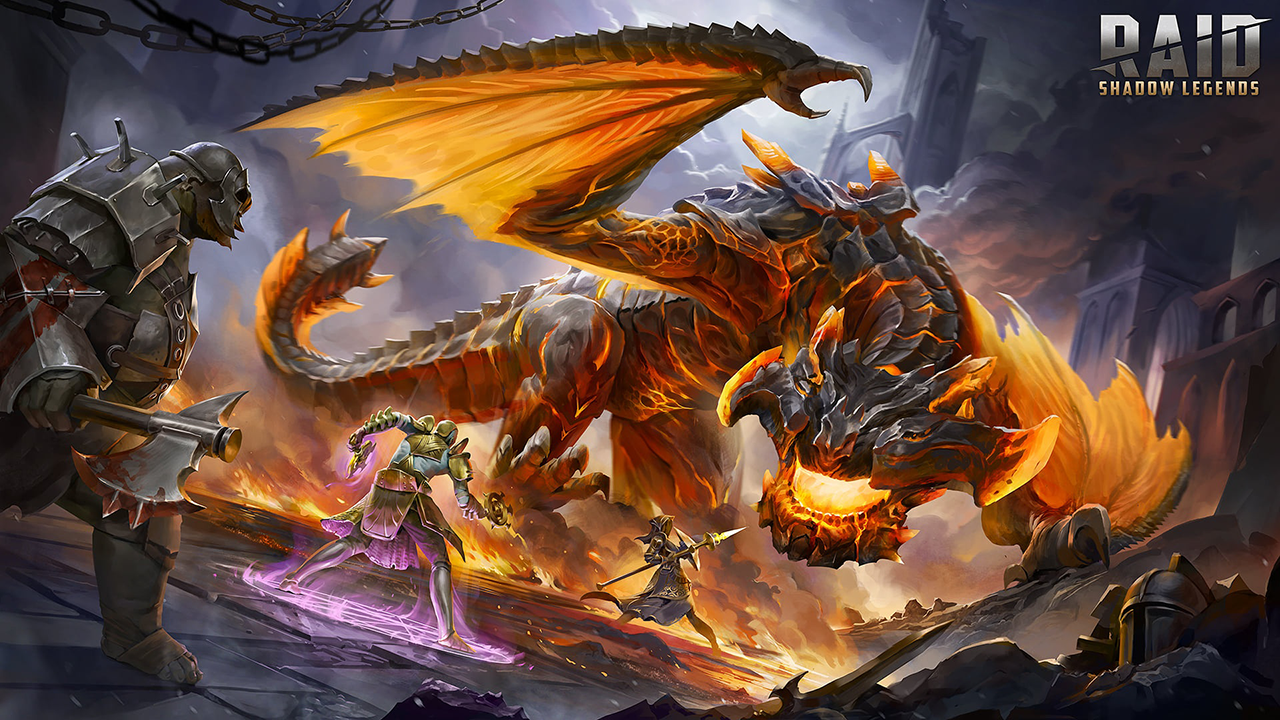
The Dauntless One
The Dauntless One Champion Loadout

Immediately once the Phantom Shogun's Grove was released any champion that could cast the Taunt buff got an immediate surge in value. Especially this champion Greenwarden Ruarc, who just seems to be a natural for this dungeon. Running him out there in his current player versus player (pvp) gear worked just fine but knowing how this encounter behaves, there is some much better builds we can create for our Sylvan Watcher guardian here.
This build aims to keep the action pointed directly at Ruarc with the Taunt buff, the entire fight. So we can keep all your other champions nice and healthy for the duration of the fight. This will allow them to do their respective roles with a little more ease. We can help with this by manipulating his stats a bit as well. Let's go over the build.
It's worth noting before we do that, that Ruarc can't transfer any of this bosses debuffs from his A1. Very unfortunate since not all of them are protected. At least at the time of this writing, it didn't work. It may be updated in the future so please take note of that.
Strategy Description
Artifacts Description
The Affinity Breaker set is built for this fight or rather this fight is built for you to be able to take advantage of that set. The new revamp of the set just made it that more potent. Since Ruarc will be the target of the Enfeeble debuff most of the time, you won't want him to land a bunch of weak hits to add to the Shade meter. This set will allow him to hit less weak hits throughout the duration of the fight. He won't be adding much DPS anyways so you don't want him being a detriment.
This build should be built with as high Critical Damage as possible, to ensure that the boss will target Greenwarden Ruarc even when he doesn't have a Taunt buff up. This set will also help with boosting up that stat. Make sure you also build up enough accuracy to be able to land his Decrease Attack debuff from his A2. I put Critical Damage as the two piece set but you could use anything like Perception if you need to.
I went with Refresh for the accessories. You could go Revenge for counterattack but you will probably add Shade stacks from time to time instead of decrease them but it can go both ways. This is so you can, potentially, get the Taunt buff up more often, since you won't have Lasting Gifts to add any extra ticks to the duration.
* Some artifact sets have upgraded versions available. If you have a better upgraded version of this recommended artifact set, definitely use that instead.


This is more of a slow defensive type fight at the highest stages meaning many of your champions won't be built for damage but more for sustaining damage over time so you can safely and successfully win the fight. The blessings reflect surviving and providing a miniscule amount of extra damage to help facilitate the bosses demise. Although you could forego the damage for extra survivability from the Support tree.
For that we went down the Offense and Defense trees. Remember you will need accuracy to land debuffs normally from Ruarc but many of the mastery enhancements from the support tree that would normally be great would go to waste since his passive ability to provide Shields will be locked out most of the fight.
You're going to want to be the target of the Enfeeble so make sure to grab more Crit Damage from Keen Strike. I just went down the left side of the tree, all the way down to Warmaster for some extra damage. You'll be getting lots of heals/Shields throughout the fight so we got Rejuvenation for that. You will want to mitigate the boss damage and many of the Defense tree masteries aim to do just that.
We end with Cycle of Revenge for extra Turn Meter to help get/keep Taunt up. Plus retribution for a counterattack to decrease those Shade stacks when the boss happens to hit hard enough. All-in-all you just want Greenwarden Ruarc to stay alive and keep soaking up all of the bosses attacks. While providing some tiny bit of extra damage throughout the fight or at the very least to stay out of the way and not cause any extra detriments to occur.


. The value of the [Shield] is equal to 15% of this Champion's MAX HP. Occurs once per turn")


. Cooldown: 1 turn")


Brimstone
Brimstone
Level 1 Blessing
A one star blessing won't help you in the higher levels of this fight. So you will want to make it a point not to weak hit on your abilities as little as you can. You may opt to not use this champion should his blessing be so low, instead using someone with a higher awakening level, if you can't mitigate your weak hits. The Affinity Breaker set can help with that though.
Level 6 Blessing
I went with Brimstone here but Brimstone is a blessing you are only going to want one of at a high level like this. Phantom Touch would be an ok alternative or just about any other. The most important part of a high awakening blessing here for this fight is the actual counters it creates against the Shade stacks when you use an ability. Any blessing works for that. Try to use group blessings like Brimstone that compliment the group evenly so you don't have multiple champions with overlap.