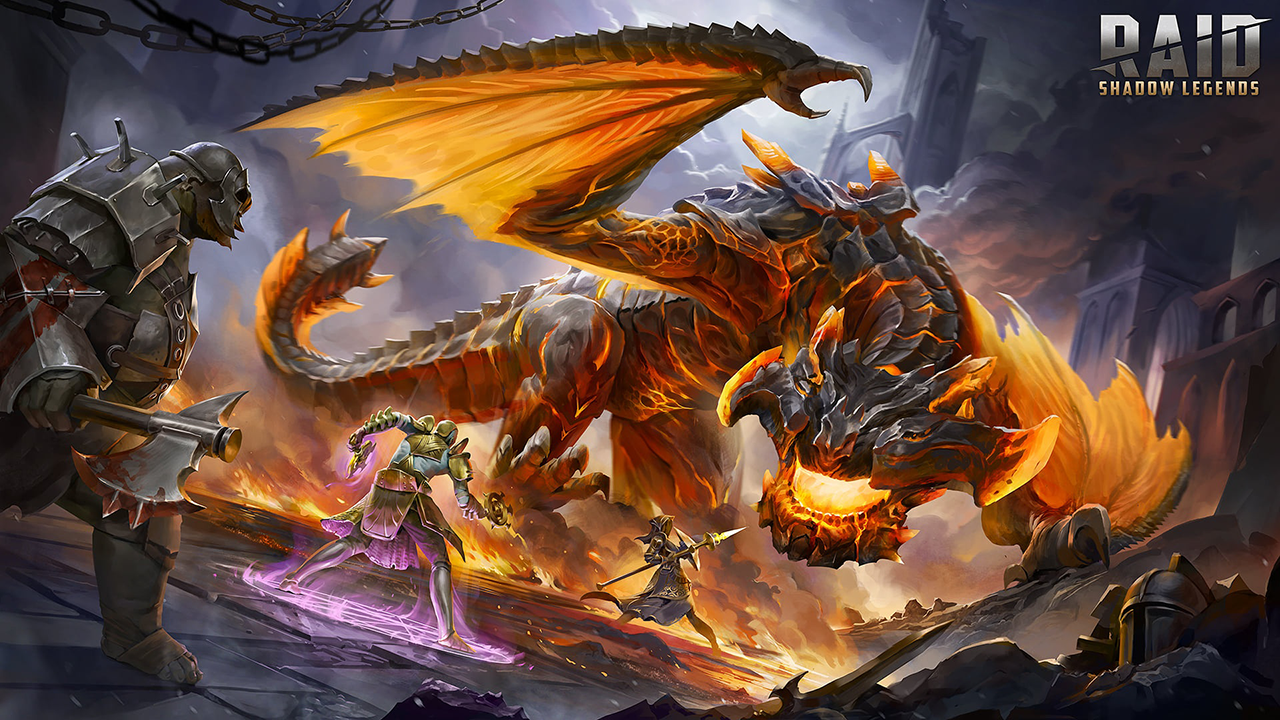
The Wrecking Ball
The Wrecking Ball Champion Loadout
The (Wight) King is here! And he is here to slay! A hard counter to lots of meta champions in the arena. This nuker is meant to be built and enjoyed. There is so much to like about this guys kit in the arena. Let's go over some of it.
His passive ability allows him to mitigate tons of varying attacks out there in the arena. Such as ally attacks, counterattacks, and any other types of attacks that happen to occur out of someones turn. This is simply put, amazing. Cardiel, Nekhret, Marichka/Taras to name a few will be mitigated in these circumstances.
On top of that he can double hit any champions with Shields or Strengthen. Marichka the Unbreakable, Wight Queen Ankora, Mithrala, just to name a few. Many of the meta champions out there have one or both of those buffs. Then he can also hit the enemy for more damage on his A3 for each buff the enemy team has, up to 5.
I called this build, The Wrecking Ball and he really lives up to the name. Especially when you see his A2 in action. The one thing you'll want to keep in mind is while you build him for damage, you may want to surround him with some champions to help keep him alive. Despite the fact he can be very tanky baseline. If you can pair him with his queen, Wight Queen Ankora, then you can reset his A2 and keep it going. It's like bowling for wins in the arenas.
Strategy Description
Nuke, nuke, nuke!
You have two courses of action. Nuke the whole team down with his A2 or nuke one specific champion down with his A3. Typically there is one champion on the other team, either a support champion or a nuker that is key to winning the fight. You can choose when and how to take out that champion. His A3 makes a great tool for doing just that.
Other than that, you can reset his abilities with his partner, Wight Queen Ankora, for maximum devastation. Re-rolling the A2 over and over until the enemy team submits to your dominance on the battlefield.
Artifacts Description
I really like the Savage/Lethal set on my guy Narses here along with the Crit Damage/Killstroke set if you have it. We want to maximize his crit damage to the fullest. Get some ignore defense in there and start nuking!
Stat-wise I focused on getting his crit rate up to 100% and then as much crit damage as possible. I also focused on some speed a bit. I want him to get turns easier. I didn't have to invest in accuracy so I kind of went all out on HP. If you need some defense though, don't hesitate to roll your top row of gear in flat defense ascensions. Otherwise focus on HP, HP and more HP with some resistance thrown in for good measure.
* Some artifact sets have upgraded versions available. If you have a better upgraded version of this recommended artifact set, definitely use that instead.
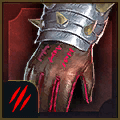
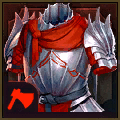
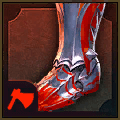

* There is an upgraded version of the Savage set called Lethal that can be crafted from materials gained from the Doom Tower when fighting the Dark Fae boss.
First things first let's go over the fact that Shieldbreaker doesn't apply extra damage to any attacks that aren't damaging the shield. It is meant to add extra damage to help break the shield, then it doesn't do any extra damage at all to champions after that. So it won't help with Wight King Narses passive ability to ignore shields, although that sounds very OP on paper.
I really like Ruthless Ambush but I skipped it here. I felt like Single Out and Bring It Down would combine to give me more damage output overall than some extra damage on the first initial hit. This damage will continue to play a factor throughout the fight as well unlike the other mastery. I know that Narses is built with high health in mind but I'd rather sacrifice some HP in my build for some extra critical damage, then let other people build their supports with more HP overall to help those masteries come into effect.
I didn't think I'd need Life Drinker. In fact I don't plan on taking much damage at all with help from champions like Siphi, UDK, Mithrala, Ursuga, etc. so I went with Whirlwind of Death for extra speed and Opportunist just in case I get a Sleep, True Fear or Petrification buff to go off. More damage, more damage, more damage and some more speed.
Kill Streak is a no brainer and I love Helmsmasher here for more ignore defense. I like Cycle of Revenge here to help to get him a turn. I went with Retribution for our last point here since I value an extra attack more than I do an extra bit of damage when we get that attack off but if you were to use Nekhret or another ally attacker, I could see going with Methodical.


![Shield Breaker: Increases damage inflicted to targets under [Shield] buffs by 25% Shield Breaker mastery icon.](/images/raid-shadow-legends/masteries/shield-breaker.png)


![Opportunist: Increases damage inflicted to targets with [Stun], [Sleep], [Fear], [True Fear], [Freeze], [Petrification] debuffs by 12%. Opportunist mastery icon.](/images/raid-shadow-legends/masteries/opportunist.png)


![Blood Shield: Places a [Shield] buff on this Champion for 1 turn when this Champion kills an enemy (except Boss' minions). The value of the [Shield] is equal to 15% of this Champion's MAX HP. Occurs once per turn Blood Shield mastery icon.](/images/raid-shadow-legends/masteries/blood-shield.png)


![Rejuvenation: Increases the amount of healing and the value of [Shield] buffs this Champion receives by 5% Rejuvenation mastery icon.](/images/raid-shadow-legends/masteries/rejuvenation.png)
![Mighty Endurance: Decreases the damage received by 10% if this Champion has [Stun], [Sleep], [Fear], [True Fear], [Freeze], [Petrification] debuffs. Mighty Endurance mastery icon.](/images/raid-shadow-legends/masteries/mighty-endurance.png)


![Wisdom of Battle: Has a 30% chance of placing a [Block Debuffs] buff on this Champion for 1 turn when [Stun], [Sleep], [Fear], [True Fear], [Freeze], [Petrification] debuffs expire on this Champion. Wisdom of Battle mastery icon.](/images/raid-shadow-legends/masteries/wisdom-of-battle.png)


![Harvest Despair: Has a 60% chance of placing a [Leech] debuff for 1 turn when placing [Stun], [Sleep], [Fear], [True Fear], [Freeze], [Petrification] debuffs. Harvest Despair mastery icon.](/images/raid-shadow-legends/masteries/harvest-despair.png)


![Deterrence: Has a 20% chance to counterattack an enemy when they apply a [Stun], [Sleep], [Fear], [True Fear], [Freeze], [Petrification], or [Sheep] debuff on an ally. Cooldown: 1 turn Deterrence mastery icon.](/images/raid-shadow-legends/masteries/deterrence.png)


![Fearsome Presence: Increases the chances of placing a [Stun], [Sleep], [Freeze], [Fear], [True Fear], [Provoke], or [Sheep] debuff from Skills or Artifacts by 5% Fearsome Presence mastery icon.](/images/raid-shadow-legends/masteries/fearsome-presence.png)


![Shieldbearer: Increases the value of [Shield] buffs this Champion casts by 5% Shieldbearer mastery icon.](/images/raid-shadow-legends/masteries/shieldbearer.png)


![Healing Savior: Increases the amount of healing and the value of [Shield] buffs placed by this Champion by 10% if the target ally has 40% HP or less Healing Savior mastery icon.](/images/raid-shadow-legends/masteries/healing-savior.png)


![Merciful Aid: Increases the amount of healing and the value of [Shield] buffs placed by this Champion by 15% if the target ally has [Stun], [Sleep], [Fear], [True Fear], or [Freeze], debuffs Merciful Aid mastery icon.](/images/raid-shadow-legends/masteries/merciful-aid.png)


![Lasting Gifts: Has a 30% chance to extend the duration of any buff cast by this Champion by 1 turn. It will not extend [Block Damage], [Unkillable], [Revive on Death], or [Taunt] buffs. Lasting Gifts mastery icon.](/images/raid-shadow-legends/masteries/lasting-gifts.png)

![Sniper: Increases the chances of placing any buff from Skills or Artifacts by 5%. It will not increase the chances of placing [Stun], [Sleep], [Freeze], [Fear], [True Fear], [Provoke], or [Petrification] debuffs. Sniper mastery icon.](/images/raid-shadow-legends/masteries/sniper.png)
![Master Hexer: Has a 30% chance to extend the duration of any buff cast by this Champion by 1 turn. It will not extend [Stun], [Sleep], [Freeze], [Provoke], [Fear], [True Fear], [Bomb], or [Petrification] debuffs. Master Hexer mastery icon.](/images/raid-shadow-legends/masteries/master-hexer.png)



Heavencast

Life Harvest
Level 1 Blessing
The thing about the new Heavencast blessing change is that it now gives you more damage per buff you have on. I have Wight King Narses paired with Wight Queen Ankora, Siphi and Nekhret in some cases, which is a LOT of buffs. Which adds up to a little bit of extra damage and all the extra damage you can get in the arena matters. Still good at higher levels.
Level 6 Blessing
I really like the Life Harvest blessing on at least one of your champions. If they happen to revive by some odd chance, then you can revive them with far less health than before and get some Turn Meter out of it so you can turn right back around and nuke those poor souls one more time back to the shadow realm.
Another good blessing will obviously be Ward of the Fallen to help keep Narses alive to get his turn and nuke. Temporal Chains could also be another good one, to help slow down the enemy team, to help get a turn to nuke. I'm running Siphi with the Wight King and Queen and am seeing a lot of others using her as well.

